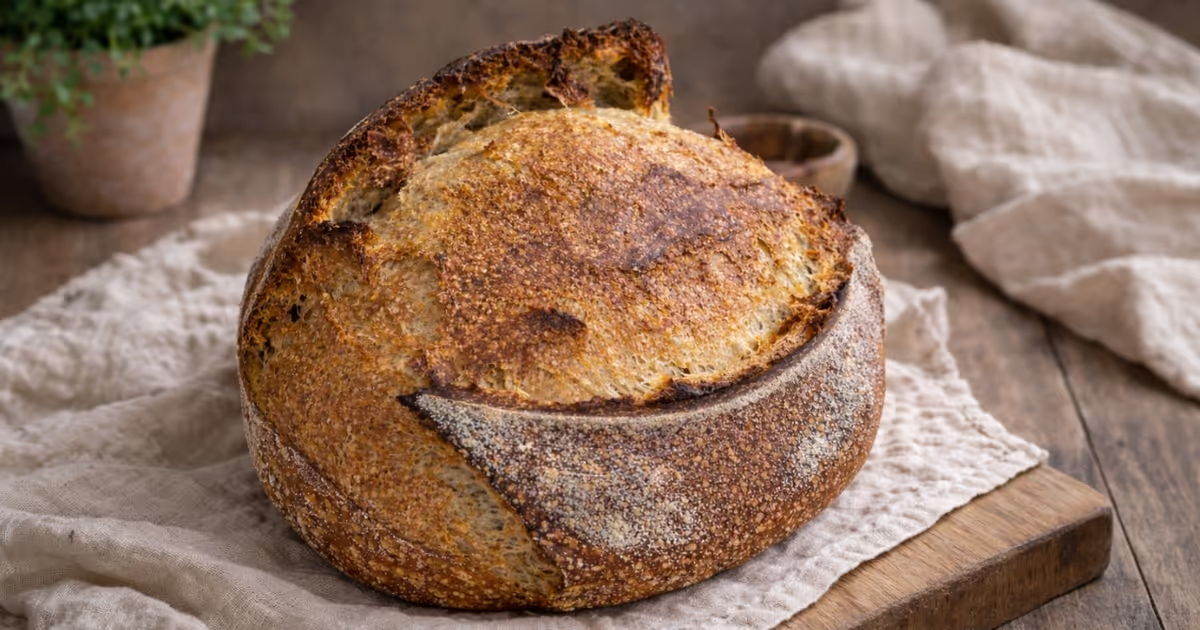
If you’ve been searching for an easy sourdough bread recipe that actually works, this is the one I come back to again and again. It makes a bold, tangy loaf with a deeply golden crust, airy crumb, and dependable oven spring, without complicated steps.
You’ll follow a simple flow: autolyse → bulk ferment with stretch and folds → shape → cold proof → bake. Once you learn what the dough should look and feel like at each stage, sourdough becomes way less intimidating.
Ingredients
- 500 g flour
- Option 1: 100% bread flour
- Option 2: 350 g bread flour + 150 g whole wheat (my favorite for flavor and texture)
- 350 g water (room temp)
- If using whole wheat: 365–375 g water
- Start with 365 g and add a touch more during stretch and folds if needed
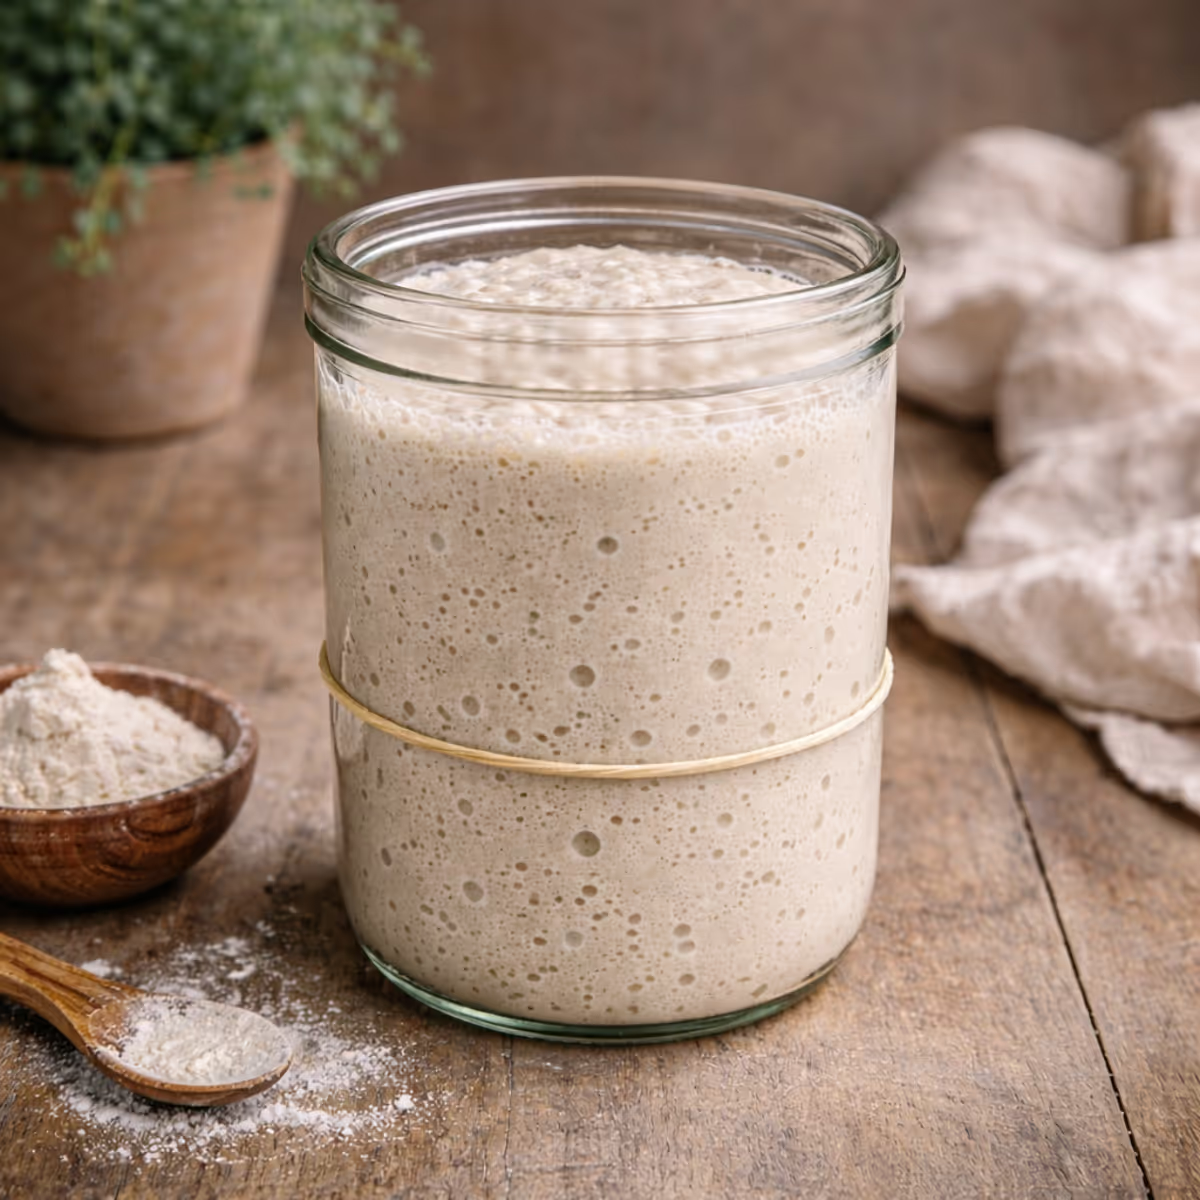
- 100 g active sourdough starter
- At peak or slightly past peak
- A strong starter should double within 4–6 hours of feeding
- You can bake with starter the next day too, it’ll still be delicious, just with a little less oven spring
- 10 g salt
Method
1) Autolyse (45 minutes)
Mix flour + water until no dry bits remain.
Cover and rest 45 minutes.
2) Add starter + salt
Add starter + salt. Pinch, fold, and squeeze until fully incorporated.
The dough will feel sticky and uneven at first. That’s normal.
3) Bulk fermentation (7–10 hours at 70–72°F)
After mixing, rest 30 minutes. Bulk fermentation begins now.
If your house is cold:
Bulk ferment in the oven with:
- Oven OFF
- Light ON
- Door slightly cracked
Cover with a lid/plate (not just a towel) so it doesn’t dry out.
Stretch and folds (first 2 hours)
Do 4 sets total, every 30 minutes.
How: with damp hands, stretch one side up and fold over the center. Rotate the bowl and repeat 3–4 times until the dough tightens.
After the 4th set, leave the dough undisturbed for the rest of bulk.
Bulk is done when:
- Dough rises 30–40% (it does not need to double)
- Looks smoother and slightly domed
- Feels airy and jiggly
- Bubbles visible along the sides
4) Pre-shape + bench rest
Turn dough onto a lightly floured surface and pre-shape into a loose round.
Rest 20–30 minutes, uncovered.
5) Final shape + cold proof (12–18 hours)
Shape into a tighter round (or oval) to build surface tension. Use minimal flour so the dough can grip the counter while shaping.
Place seam-side up in a well-floured banneton (rice flour helps prevent sticking).
Cold proof: refrigerate 12–18 hours.
Cover with plastic or a grocery bag, leaving a tiny opening for airflow.
Avoid towel-only coverage (it can dry out the surface).
6) Bake day (straight from the fridge)
Preheat Dutch oven at 500°F for 30–45 minutes.
- Remove dough from fridge
- Turn out onto parchment
- Score immediately
- Transfer to hot Dutch oven
Bake:
- 475°F for 28 minutes (covered)
- 450°F for 25–28 minutes (uncovered)
Bake until deeply colored for that bold crust.
7) Cool (the hardest part)
Cool on a rack at least 3 hours before slicing.
Yes, you can cut early, but the crumb sets best with patience.
%20(2).avif)
Reset your nervous system through sound therapy and create a mindful moment just for you. You deserve it.
No fillers. No toxins. Just clean, natural formulas that work.
.avif)
.avif)
.avif)
.avif)
.avif)
How to Store Sourdough Bread
Once your loaf is fully cooled, storage makes a big difference in texture and crust.
How long does sourdough bread last?
At room temperature, sourdough is best within about 2 days. Natural fermentation helps it keep a bit longer than conventional bread.
Best way to store sourdough (Days 1–2)
- Store cut-side down on a cutting board, or wrap loosely in a clean towel
- A paper bag or bread box also works well for airflow
- Avoid plastic at room temp (it softens the crust and traps moisture)
Can you refrigerate sourdough bread?
No. The fridge speeds up staling and can make the crumb feel dry and tough.
Can you freeze sourdough bread?
Yes, freezing is the best long-term option. Slice once cooled, freeze in a bag up to 3 months, and toast straight from frozen.
Common Sourdough Mistakes (And How to Fix Them)
- Under-fermenting
Dense loaf and low oven spring. Look for 30–40% rise, bubbles, and a jiggly dough (it doesn’t need to double). - Over-fermenting
Dough spreads flat, feels overly sticky, or collapses when scored. Shorten bulk time in warm conditions. - Inactive starter
Starter should be bubbly and near peak. If it isn’t rising well after feeding, the loaf will struggle too. - Too much flour while shaping
Excess flour can tighten the crumb. Use a light dusting and rely on shaping tension instead. - Slicing too soon
Can cause gumminess. Cool at least 3 hours before cutting. - Baking too cool
Preheat the Dutch oven fully at 500°F for strong oven spring and a bold crust.
FAQs
Is this recipe good for beginners?
Yes. It’s simple, repeatable, and teaches what to look for in fermentation and structure.
Why didn’t my sourdough rise?
Most often: starter wasn’t active, bulk was under-fermented, or the dough fermented too long.
How do I make my sourdough more sour?
Cold proof closer to 18 hours for more tang and depth.
Can I use whole wheat flour?
Yes. Swap 150 g of bread flour for whole wheat and increase water to 365–375 g.
Why is my sourdough gummy inside?
Usually slicing too soon or underbaking. Cool 3 hours and bake until deeply golden.
Do I bake sourdough straight from the fridge?
Yes. Cold dough scores easier and often springs better in the oven.
Final Thoughts
Sourdough gets easier when you learn to read your dough. Trust your hands, your eyes, and the season you’re in. If it tastes good, you’re doing it right.
Happy baking!